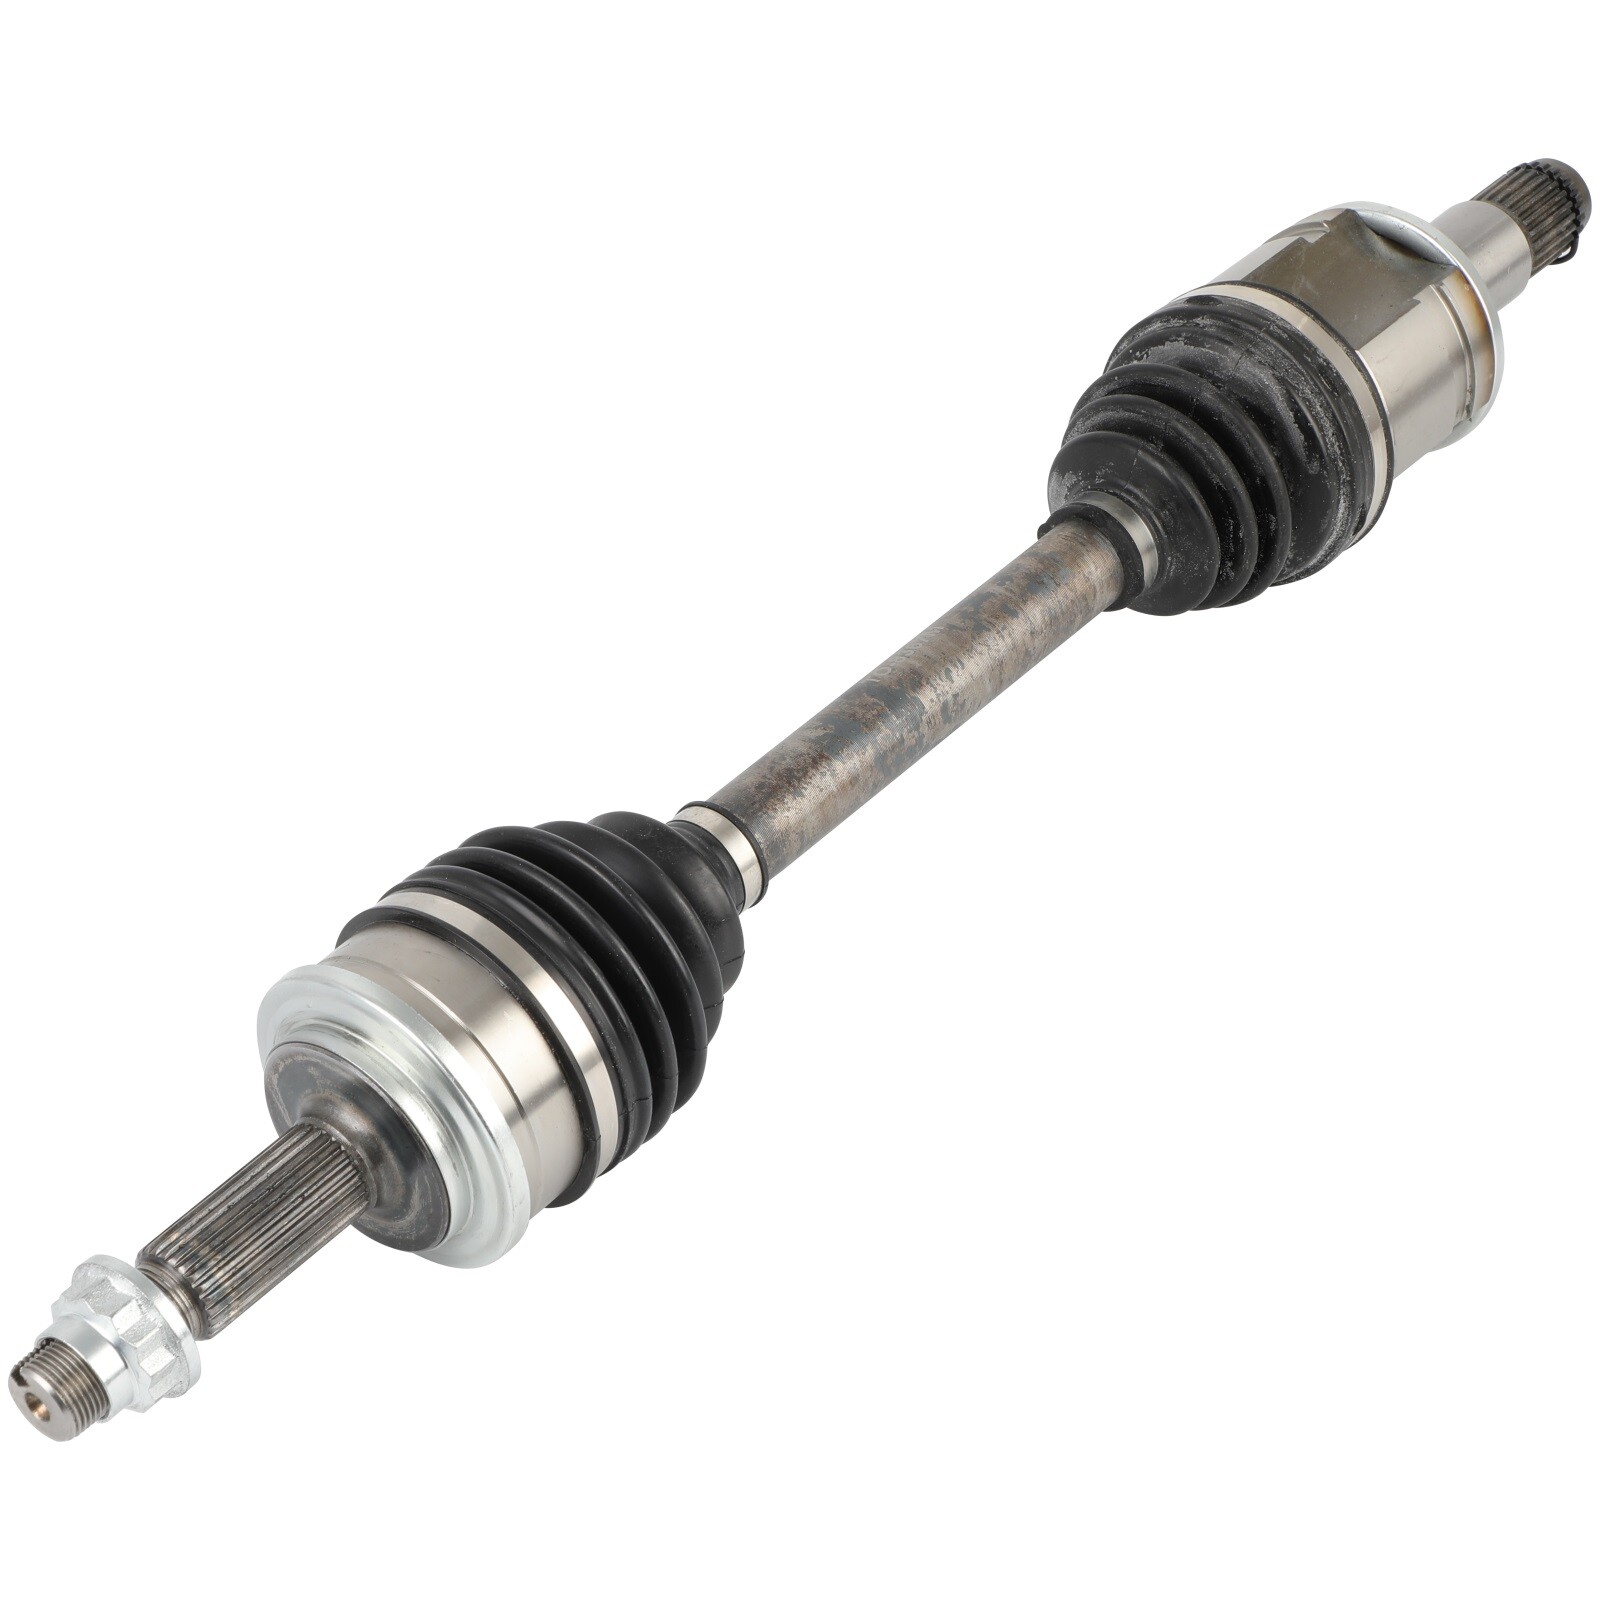
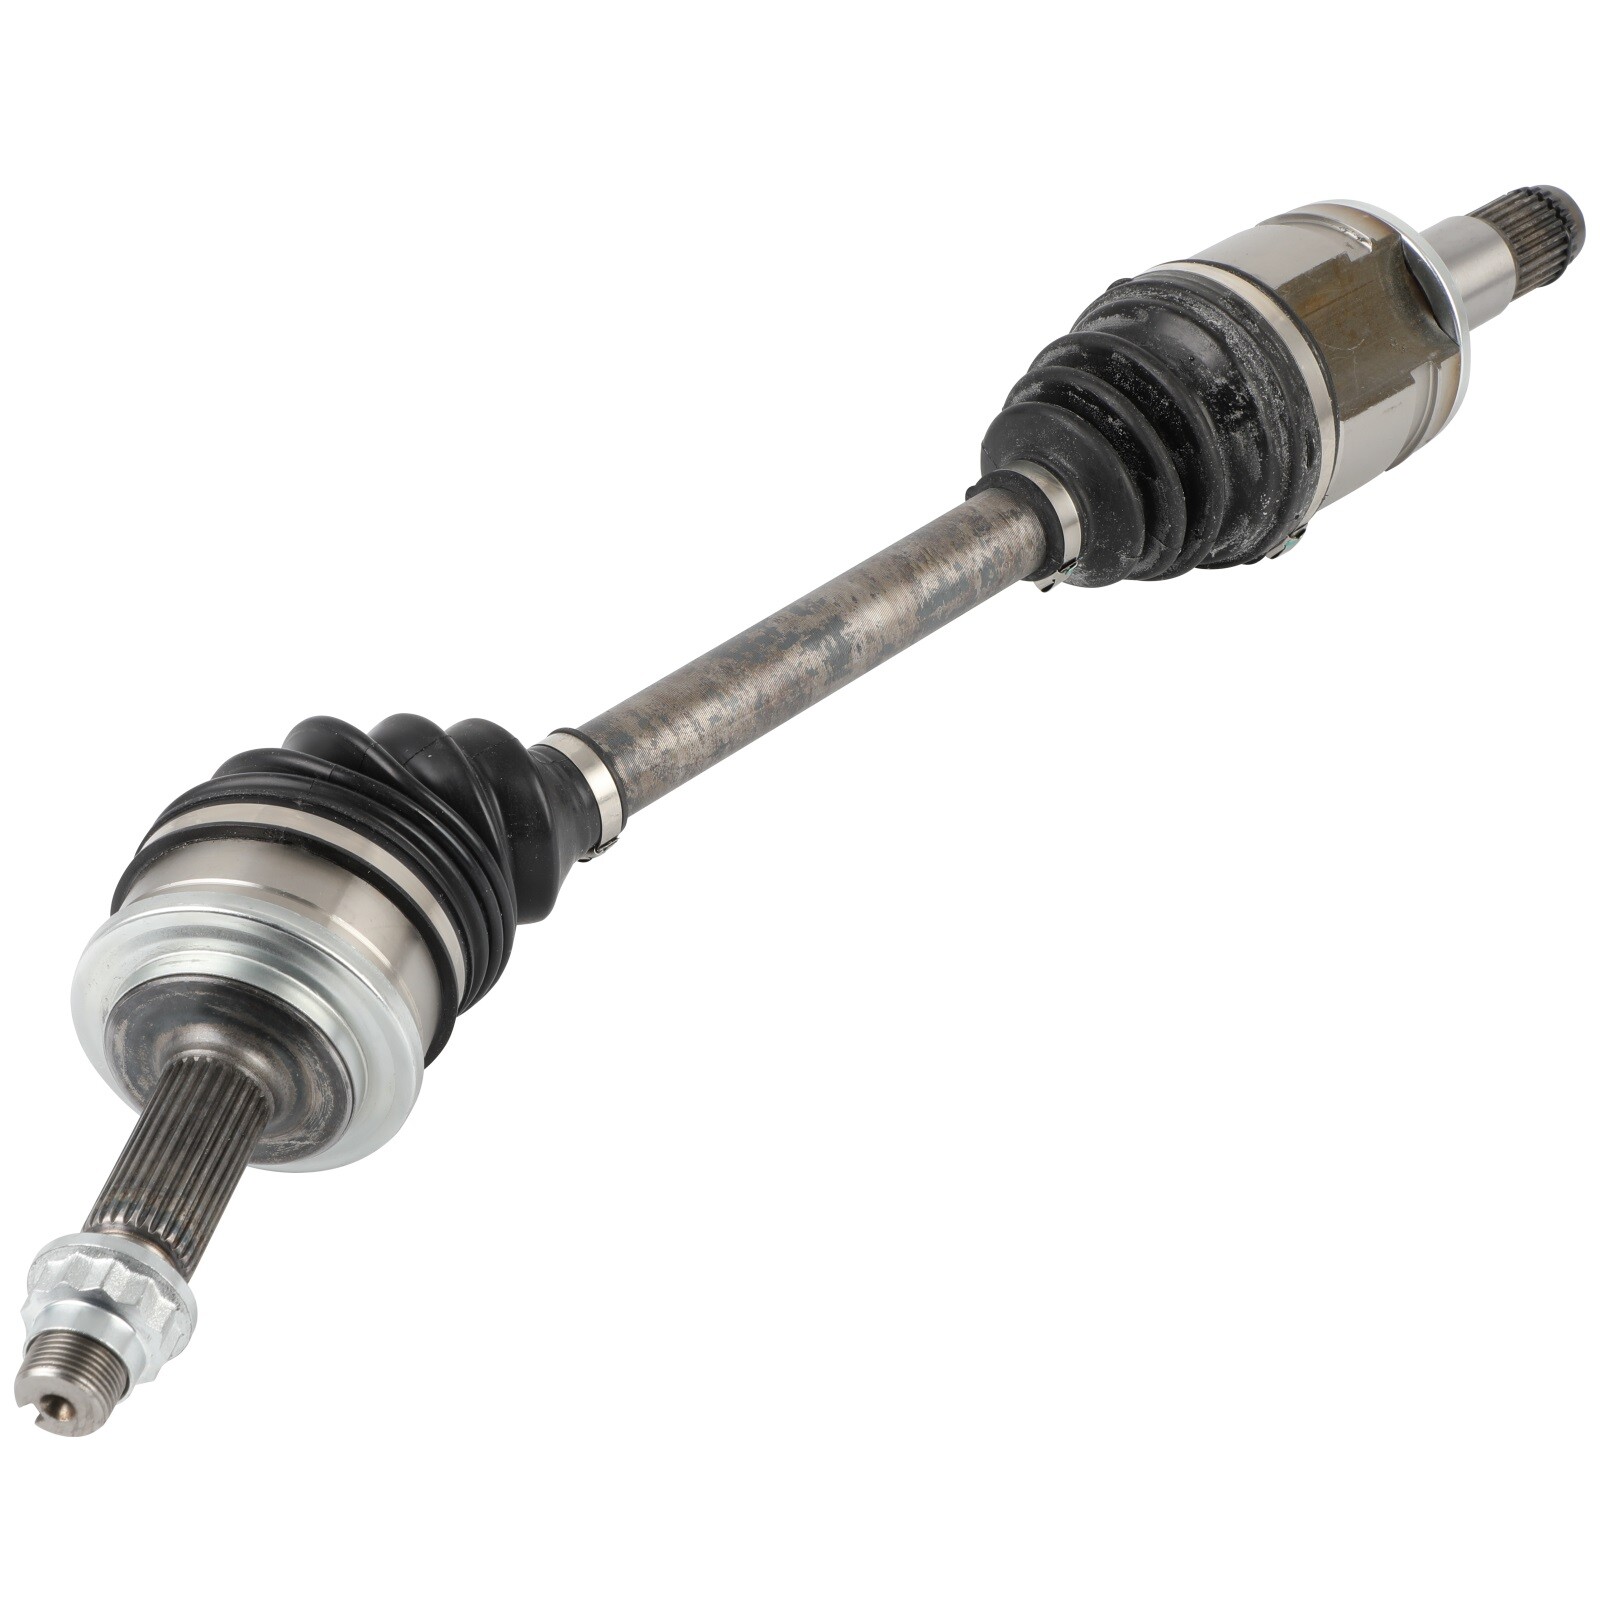
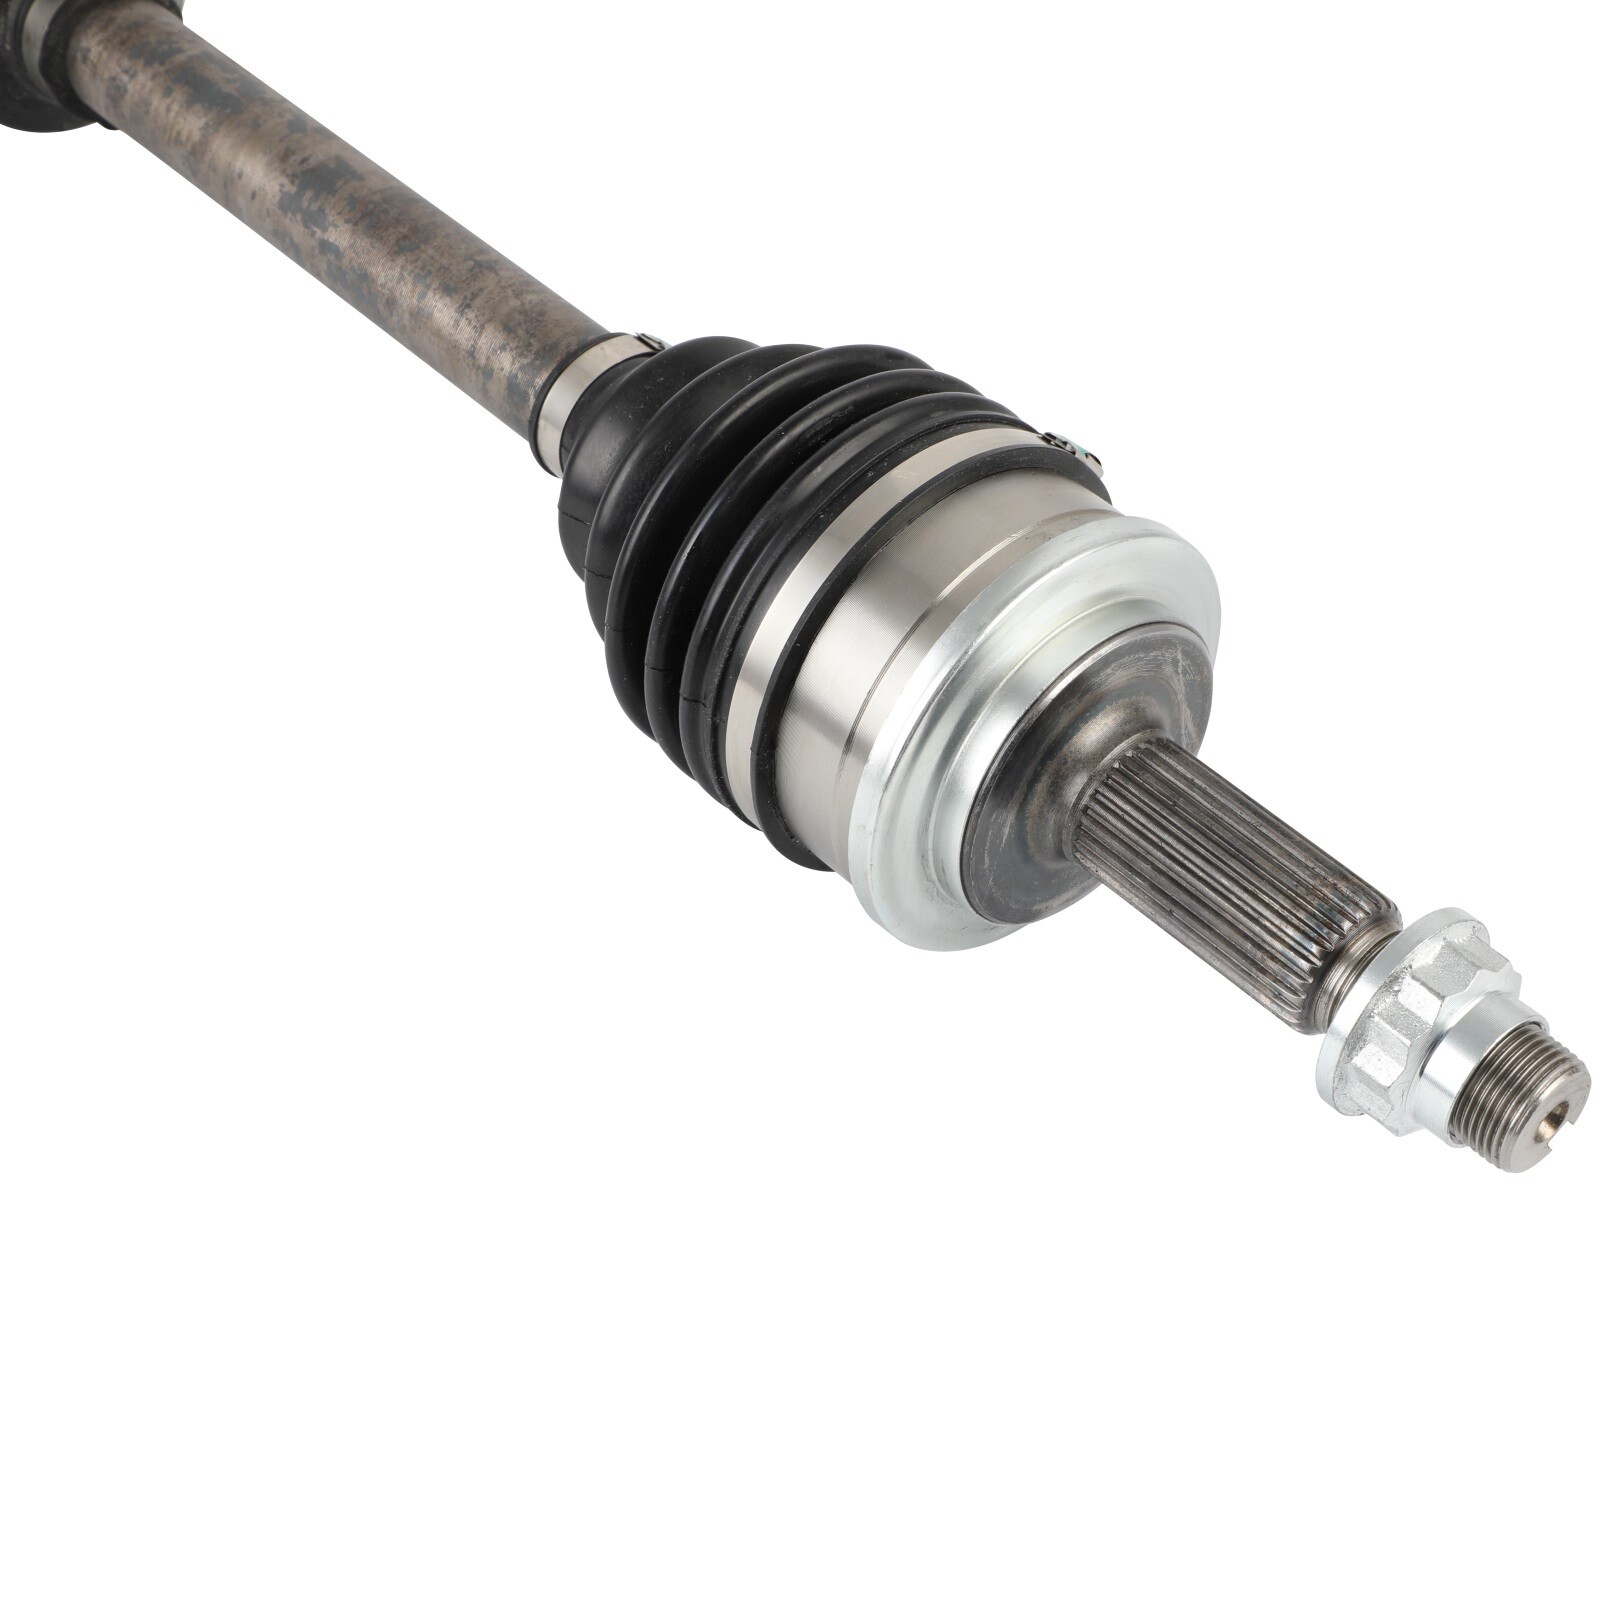
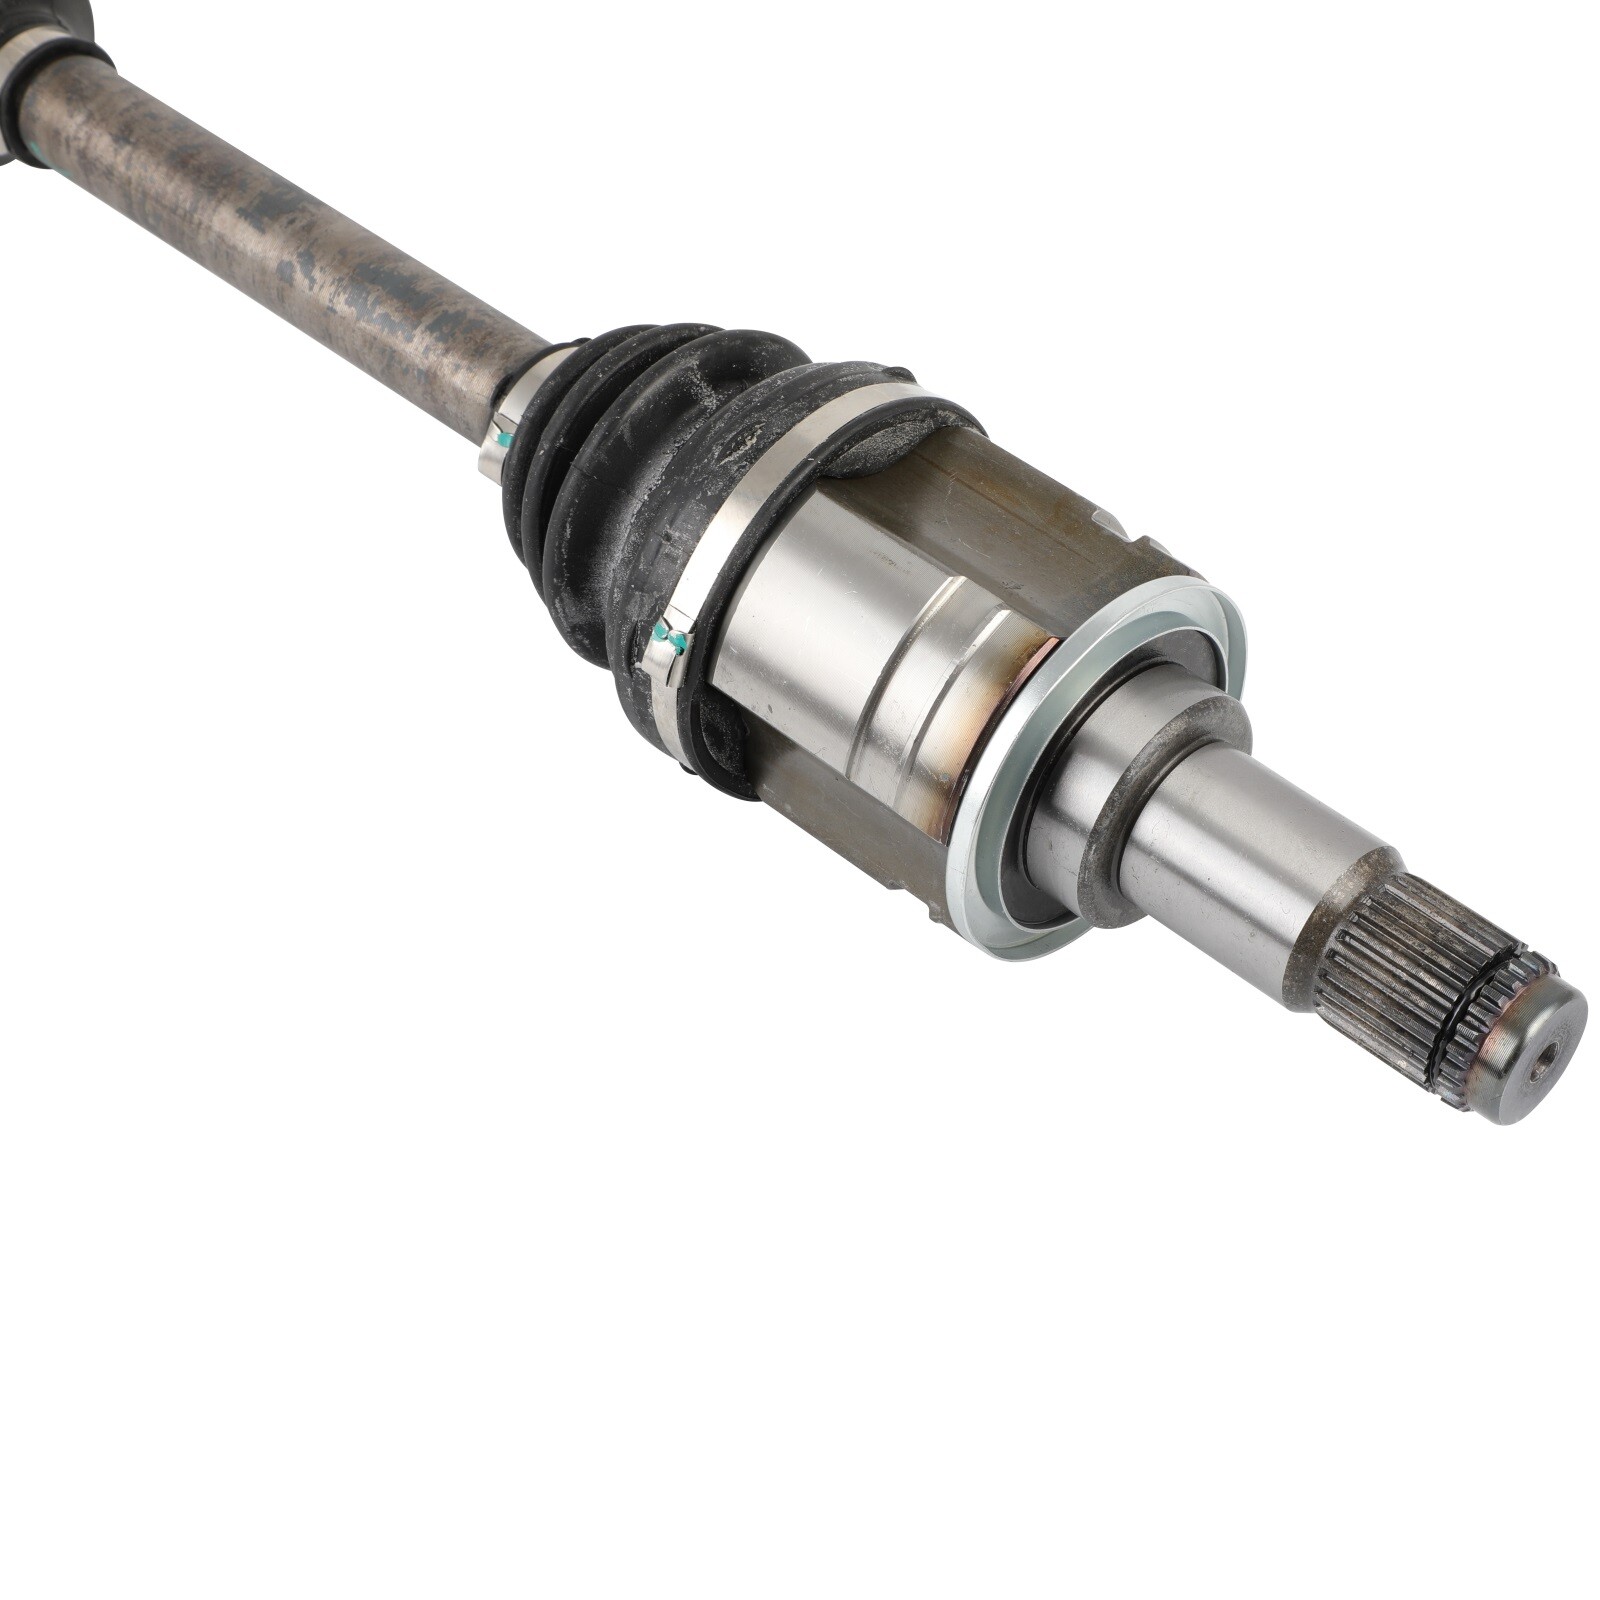
app-autoparts Front Driver for Toyota RAV4 2006 2007 2008-2012 L4 2.4L 2.5L CV Axle Assembly
app-autoparts Front Driver for Toyota RAV4 2006 2007 2008-2012 L4 2.4L 2.5L CV Axle Assembly


app-autoparts Front Driver for Toyota RAV4 2006 2007 2008-2012 L4 2.4L 2.5L CV Axle Assembly
|
|
|
||||||
|
|
|
|
|
|||
Front Driver for Toyota RAV4 2006 2007 2008-2012 L4 2.4L 2.5L CV Axle Assembly
How to Change a CV Axle
Part1 Removing the Vehicle’s Axle Nut
1.Remove the vehicle’s hubcap. Before so much as jacking up the vehicle, you need to remove the axle nut. Start by removing the hubcap for the respective wheel of the CV axle to be replaced. For vehicles with rims, you may simply have a cap at the center of the wheel rather than a hubcap.
2.Remove the cotter pin from the axle nut. If your vehicle has a cotter pin securing the axle nut, you will need to remove it. The pin will resemble a bobby pin with the ends folded back to hold it in place.
- You will need to use pliers to straighten the two bent ends of the cotter pin before you can remove it.
- If the pin is stuck, try spraying it the a penetrating lubricant from a hardware or automotive store.The lubricant should actually help with the axle nut as well.
3.Remove the axle nut. Once the cotter pin is out, you can remove the axle nut. The nut will take significant torque to remove, which is why it is much safer to remove the nut before jacking up the vehicle.
- Unfortunately, axle nuts do not have a standard size, and the socket size required will be different for different vehicles. The parts department at a certified dealership for your vehicle make should be able to tell you the exact size if you want to check before starting the project.
Part2 Removing the Wheel and Brake Assembly
1.Jack up the appropriate side of the car. Next, you will need to remove the wheel, which requires lifting the vehicle. Consult your vehicle’s owner’s manual for the correct spot to jack up your car, and ensure that you pick a spot on the frame and not the much more fragile body.
- Double-check that the vehicle is in park and that the parking brake is engaged before jacking up the vehicle.
2.Place the vehicle on jack stands. Once you have the vehicle lifted enough to place your jack stand, ease it back down onto the stand, which is more stable than the jack alone.
3.Remove the wheel. The lug nuts securing the wheel will already be exposed from when you removed the hubcap. Remove the lug nuts and the wheel the same way you would if you were changing a tire.
4.Remove the brake caliper. Once the wheel is off, the brake caliper and brake rotor will be clearly visible. The caliper housing is the larger piece attached to the outside of the rotor.
- The caliper will be held in place on the rear side of the rotor by bolts in a mounting bracket. The specific configuration will depend on your make and model year vehicle. The mounting bracket most commonly uses 17mm bolts.
- Since the caliper is connected to your vehicle’s brake line, you want to keep slack in the brake line instead of letting it hang. You can easily suspend the caliper from a short bungee cord to keep it out of your way without putting too much stress on the brake line.
5.Unbolt the outer tie rod from the steering knuckle. The outer tie rod is literally a rod bolted to the steering knuckle, which is just behind the rotor. This piece will likely be bolted with another 17mm bolt.
- Like the axle nut, this bolt may be held in place with a cotter pin.
- Penetrating lubricant may help you more easily remove the pin and bolt.
- The tie rod may still be pretty snug in the steering knuckle even after removing the bolt. Tape the steering knuckle joint with a hammer (hitting the knuckle where the rod goes through and not the threaded portion of the tie rod) to help remove it.
- You might need to separate the ball joint to get the lower control on the steering knuckle out of the way.
6.Unbolt the hub from the strut tower. Two more 17mm bolts will connect the wheel hub to the strut tower. Once you remove these bolts, the hub should only be connected by the axle through the center hole, and you should easily be able to remove it.
- Since these are actual bolts, you will need to secure the head of the bolt while loosening the nut, or it will just turn.
Part3 Removing and Replacing the CV Axle
1.Pry the CV joint. Follow the axle back, and you will see the actual joint where it slides into the transmission. You can use a small pry bar or sturdy flathead screwdriver to pry the axle from the joint.
- If the axle doesn’t immediately come loose, try twisting it back and force to break the seal.
- It’s normal for some transmission fluid to leak out as you remove the axle from the cv joint. You should put down a catch pan.
- On your vehicle, the axle may have to pass through an enclosed piece called a wishbone before it’s completely free. You can remove the band from the inner boot to help the old axle pass through.
2.Insert the new CV axle into the transmission housing. Just as you removed the old CV axle, insert the new one into the same spot in the transmission housing. The peg will slide all the way in until the axle is flush against the housing.
- There is a small C-clip on the axle that you will feel snap into place.
- If the axle isn’t quite flush, you can use a rubber mallet to gently tap it into place.
3.Reinsert the axle through the hub assembly. The new axle will have to be reinserted into the center of the hub assembly at the same spot where you removed the old axle.
4.Refasten the assemblies in the order you removed them. Starting with the hub assembly to the strut tower, refasten all of the bolts you removed. Reconnect the outer tie rod to the steering knuckle next, and then reattach the caliper.
- Any old cotter pins may be brittle, so you should replace them with new ones rather than reusing the old pins.
5.Reattach the wheel. By this time, you can put the wheel back on the vehicle (again, the same as you would when changing a tire).
- After the wheel is on, you can lower the car off the jack and jack stands.
6.Tighten the axle nut. Finally, you can retighten the axle nut once the vehicle is back on the ground. Make sure that you still have the parking brake engaged while tightening.
- It’s not a bad idea to clean the threaded part of the axle with a brake cleaner in case any grease has gotten on it while feeding it through the hub.
Things You’ll Need
- A vehicle jack
- Jack stands
- Needle nose pliers
- Penetrating lubricant
- Appropriately sized socket wrench set for lug nuts, axle nut, brake caliper mounts, etc.
- Pry bar
- Cotter pins
- Brake cleaner
| Item Specifics | |
|---|---|
| Brand : | app-autoparts |
| Manufacturer Part Number : | APP179946S01 |
| Interchange Part Number : | 66-5295 |
| OE/OEM Part Number : | 665295 |
| Manufacturer Warranty : | 1 Year |
| California Prop 65 Warning : | Yes |
| Fitment Type : | Direct Replacement |
| Compatible Makes : | Toyota |
| Model : | 2006-2012 RAV4 |
| Engine : | L4 2.4L, L4 2.5L |
| Location : | Front Left(Front Driver Side) |
| Compressed Length : | 25.375" |
| Input Shaft Spline Count : | 24 |
| Output Shaft Spline Count : | 26 |
| Note : | Not for FWD (Front Wheel Drive) |
| Note-2 : | 2006-2007 RAV4 fit 4WD or AWD |
| Note-3 : | 2008-2012 Toyota RAV4 fit 4WD (Four Wheel Drive) |
1.We accept multiple payment methods.
2.Please do not use the PayPal note field to indicate us to ship to other address. The note there will NOT be read. If you want to change the shipping address, please contact us by eBay messages.
3.(if you want cancel orders or change address pls contact us within 6 hours after payment,or we are not responsible for shipping a replacement.)
4.Payment must be received within 10 days as auction ended or order might be delayed.1.We only accept PayPal.
2.Please do not use the PayPal note field to indicate us to ship to other address. The note there will NOT be read. If you want to change the shipping address, please contact us by eBay messages.
3.(if you want cancel orders or change address pls contact us within 6 hours after payment,or we are not responsible for shipping a replacement.)
4.Payment must be received within 10 days as auction ended or order might be delayed.
1. Orders processed within 24 hours of payment verification.
2. We only ship to confirmed PAYPAL addresses. Your PAYPAL address must match your Shipping address.
3. The images shown are not the actual item and are for your reference only.
4. If you have not received your shipment within 15 days from payment , please contact us. We will track the shipment and get back to you as soon as possible with a reply. Our goal is customer satisfaction!
1. You have 30 days to contact us and 10 days to return it from the date it was received. If this item is in your possession more than 7 days, it is considered used and we will not issue you a refund or replacement. There are NO EXCEPTIONS!
2. All returned items must be in the original packaging and you must provide us with the shipping tracking number, specific reason for the return, and item custom lable.
3. We will refund your full winning bid amount, upon receipt of the item in its original condition and packaging with all components and accessories included, AFTER both Buyer and Seller cancel the transaction from eBay. OR, you may choose to have a replacement.
4. Return shipping is to be paid by the Buyer.
We maintain high standards of excellence (five stars review)and strive for 100% customer satisfaction! FEEDBACK IS VERY IMPORTANT TO US. We request that you contact us immediately BEFORE you give us neutral or negative feedback, so that we can satisfactorily address your concerns.
Front Driver for Toyota RAV4 2006 2007 2008-2012 L4 2.4L 2.5L CV Axle Assembly
How to Change a CV Axle
Part1 Removing the Vehicle’s Axle Nut
1.Remove the vehicle’s hubcap. Before so much as jacking up the vehicle, you need to remove the axle nut. Start by removing the hubcap for the respective wheel of the CV axle to be replaced. For vehicles with rims, you may simply have a cap at the center of the wheel rather than a hubcap.
2.Remove the cotter pin from the axle nut. If your vehicle has a cotter pin securing the axle nut, you will need to remove it. The pin will resemble a bobby pin with the ends folded back to hold it in place.
3.Remove the axle nut. Once the cotter pin is out, you can remove the axle nut. The nut will take significant torque to remove, which is why it is much safer to remove the nut before jacking up the vehicle.
Part2 Removing the Wheel and Brake Assembly
1.Jack up the appropriate side of the car. Next, you will need to remove the wheel, which requires lifting the vehicle. Consult your vehicle’s owner’s manual for the correct spot to jack up your car, and ensure that you pick a spot on the frame and not the much more fragile body.
2.Place the vehicle on jack stands. Once you have the vehicle lifted enough to place your jack stand, ease it back down onto the stand, which is more stable than the jack alone.
3.Remove the wheel. The lug nuts securing the wheel will already be exposed from when you removed the hubcap. Remove the lug nuts and the wheel the same way you would if you were changing a tire.
4.Remove the brake caliper. Once the wheel is off, the brake caliper and brake rotor will be clearly visible. The caliper housing is the larger piece attached to the outside of the rotor.
5.Unbolt the outer tie rod from the steering knuckle. The outer tie rod is literally a rod bolted to the steering knuckle, which is just behind the rotor. This piece will likely be bolted with another 17mm bolt.
6.Unbolt the hub from the strut tower. Two more 17mm bolts will connect the wheel hub to the strut tower. Once you remove these bolts, the hub should only be connected by the axle through the center hole, and you should easily be able to remove it.
Part3 Removing and Replacing the CV Axle
1.Pry the CV joint. Follow the axle back, and you will see the actual joint where it slides into the transmission. You can use a small pry bar or sturdy flathead screwdriver to pry the axle from the joint.
2.Insert the new CV axle into the transmission housing. Just as you removed the old CV axle, insert the new one into the same spot in the transmission housing. The peg will slide all the way in until the axle is flush against the housing.
3.Reinsert the axle through the hub assembly. The new axle will have to be reinserted into the center of the hub assembly at the same spot where you removed the old axle.
4.Refasten the assemblies in the order you removed them. Starting with the hub assembly to the strut tower, refasten all of the bolts you removed. Reconnect the outer tie rod to the steering knuckle next, and then reattach the caliper.
5.Reattach the wheel. By this time, you can put the wheel back on the vehicle (again, the same as you would when changing a tire).
6.Tighten the axle nut. Finally, you can retighten the axle nut once the vehicle is back on the ground. Make sure that you still have the parking brake engaged while tightening.
Things You’ll Need
1.We accept multiple payment methods.
2.Please do not use the PayPal note field to indicate us to ship to other address. The note there will NOT be read. If you want to change the shipping address, please contact us by eBay messages.
3.(if you want cancel orders or change address pls contact us within 6 hours after payment,or we are not responsible for shipping a replacement.)
4.Payment must be received within 10 days as auction ended or order might be delayed.1.We only accept PayPal.
2.Please do not use the PayPal note field to indicate us to ship to other address. The note there will NOT be read. If you want to change the shipping address, please contact us by eBay messages. 3.(if you want cancel orders or change address pls contact us within 6 hours after payment,or we are not responsible for shipping a replacement.) 4.Payment must be received within 10 days as auction ended or order might be delayed.1.We only accept PayPal. 2.Please do not use the PayPal note field to indicate us to ship to other address. The note there will NOT be read. If you want to change the shipping address, please contact us by eBay messages. 3.(if you want cancel orders or change address pls contact us within 6 hours after payment,or we are not responsible for shipping a replacement.) 4.Payment must be received within 10 days as auction ended or order might be delayed.1.We only accept PayPal. 2.Please do not use the PayPal note field to indicate us to ship to other address. The note there will NOT be read. If you want to change the shipping address, please contact us by eBay messages.
3.(if you want cancel orders or change address pls contact us within 6 hours after payment,or we are not responsible for shipping a replacement.)
4.Payment must be received within 10 days as auction ended or order might be delayed.
1. Orders processed within 24 hours of payment verification. 1. You have 30 days to contact us and 10 days to return it from the date it was received. If this item is in your possession more than 7 days, it is considered used and we will not issue you a refund or replacement. There are NO EXCEPTIONS! 2. All returned items must be in the original packaging and you must provide us with the shipping tracking number, specific reason for the return, and item custom lable. 3. We will refund your full winning bid amount, upon receipt of the item in its original condition and packaging with all components and accessories included, AFTER both Buyer and Seller cancel the transaction from eBay. OR, you may choose to have a replacement. We maintain high standards of excellence (five stars review)and strive for 100% customer satisfaction! FEEDBACK IS VERY IMPORTANT TO US. We request that you contact us immediately BEFORE you give us neutral or negative feedback, so that we can satisfactorily address your concerns. Copyright of app_autoparts. All rights reserved. |
Shop Category Picture Help & Info Payment Policy Shipping Policy Return Policy FAQ About Us |
||||||||||||||||||||||||||||||||||||||||||||||
| Brand: | app-autoparts |
|---|---|
| Isin: | IY3MXMHDYINI |
This product is not available in the selected country
In Stock
Backordered
Out of Stock


IBspot Buyer Protection
Shop confidently on IBspot, receive your item as described or your money back for eligible orders. Learn Program Terms
GUARANTEED SAFE CHECKOUT
-

MONEY BACK GUARANTEE
30 days money back guarantee, no additional fee charged.
-

EXCELLENT SUPPORT
We provide 24/7 online customer support via email.
-

Fast Shipping
One week domestic shipping. Global delivery to the US in 2 weeks.

|
|
||||||
|

|
|
|
|||


Front Driver for Toyota RAV4 2006 2007 2008-2012 L4 2.4L 2.5L CV Axle Assembly
How to Change a CV Axle
Part1 Removing the Vehicle’s Axle Nut

1.Remove the vehicle’s hubcap. Before so much as jacking up the vehicle, you need to remove the axle nut. Start by removing the hubcap for the respective wheel of the CV axle to be replaced. For vehicles with rims, you may simply have a cap at the center of the wheel rather than a hubcap.

2.Remove the cotter pin from the axle nut. If your vehicle has a cotter pin securing the axle nut, you will need to remove it. The pin will resemble a bobby pin with the ends folded back to hold it in place.
- You will need to use pliers to straighten the two bent ends of the cotter pin before you can remove it.
- If the pin is stuck, try spraying it the a penetrating lubricant from a hardware or automotive store.The lubricant should actually help with the axle nut as well.

3.Remove the axle nut. Once the cotter pin is out, you can remove the axle nut. The nut will take significant torque to remove, which is why it is much safer to remove the nut before jacking up the vehicle.
- Unfortunately, axle nuts do not have a standard size, and the socket size required will be different for different vehicles. The parts department at a certified dealership for your vehicle make should be able to tell you the exact size if you want to check before starting the project.
Part2 Removing the Wheel and Brake Assembly

1.Jack up the appropriate side of the car. Next, you will need to remove the wheel, which requires lifting the vehicle. Consult your vehicle’s owner’s manual for the correct spot to jack up your car, and ensure that you pick a spot on the frame and not the much more fragile body.
- Double-check that the vehicle is in park and that the parking brake is engaged before jacking up the vehicle.

2.Place the vehicle on jack stands. Once you have the vehicle lifted enough to place your jack stand, ease it back down onto the stand, which is more stable than the jack alone.

3.Remove the wheel. The lug nuts securing the wheel will already be exposed from when you removed the hubcap. Remove the lug nuts and the wheel the same way you would if you were changing a tire.

4.Remove the brake caliper. Once the wheel is off, the brake caliper and brake rotor will be clearly visible. The caliper housing is the larger piece attached to the outside of the rotor.
- The caliper will be held in place on the rear side of the rotor by bolts in a mounting bracket. The specific configuration will depend on your make and model year vehicle. The mounting bracket most commonly uses 17mm bolts.
- Since the caliper is connected to your vehicle’s brake line, you want to keep slack in the brake line instead of letting it hang. You can easily suspend the caliper from a short bungee cord to keep it out of your way without putting too much stress on the brake line.

5.Unbolt the outer tie rod from the steering knuckle. The outer tie rod is literally a rod bolted to the steering knuckle, which is just behind the rotor. This piece will likely be bolted with another 17mm bolt.
- Like the axle nut, this bolt may be held in place with a cotter pin.
- Penetrating lubricant may help you more easily remove the pin and bolt.
- The tie rod may still be pretty snug in the steering knuckle even after removing the bolt. Tape the steering knuckle joint with a hammer (hitting the knuckle where the rod goes through and not the threaded portion of the tie rod) to help remove it.
- You might need to separate the ball joint to get the lower control on the steering knuckle out of the way.

6.Unbolt the hub from the strut tower. Two more 17mm bolts will connect the wheel hub to the strut tower. Once you remove these bolts, the hub should only be connected by the axle through the center hole, and you should easily be able to remove it.
- Since these are actual bolts, you will need to secure the head of the bolt while loosening the nut, or it will just turn.
Part3 Removing and Replacing the CV Axle

1.Pry the CV joint. Follow the axle back, and you will see the actual joint where it slides into the transmission. You can use a small pry bar or sturdy flathead screwdriver to pry the axle from the joint.
- If the axle doesn’t immediately come loose, try twisting it back and force to break the seal.
- It’s normal for some transmission fluid to leak out as you remove the axle from the cv joint. You should put down a catch pan.
- On your vehicle, the axle may have to pass through an enclosed piece called a wishbone before it’s completely free. You can remove the band from the inner boot to help the old axle pass through.

2.Insert the new CV axle into the transmission housing. Just as you removed the old CV axle, insert the new one into the same spot in the transmission housing. The peg will slide all the way in until the axle is flush against the housing.
- There is a small C-clip on the axle that you will feel snap into place.
- If the axle isn’t quite flush, you can use a rubber mallet to gently tap it into place.

3.Reinsert the axle through the hub assembly. The new axle will have to be reinserted into the center of the hub assembly at the same spot where you removed the old axle.

4.Refasten the assemblies in the order you removed them. Starting with the hub assembly to the strut tower, refasten all of the bolts you removed. Reconnect the outer tie rod to the steering knuckle next, and then reattach the caliper.
- Any old cotter pins may be brittle, so you should replace them with new ones rather than reusing the old pins.

5.Reattach the wheel. By this time, you can put the wheel back on the vehicle (again, the same as you would when changing a tire).
- After the wheel is on, you can lower the car off the jack and jack stands.

6.Tighten the axle nut. Finally, you can retighten the axle nut once the vehicle is back on the ground. Make sure that you still have the parking brake engaged while tightening.
- It’s not a bad idea to clean the threaded part of the axle with a brake cleaner in case any grease has gotten on it while feeding it through the hub.
Things You’ll Need
- A vehicle jack
- Jack stands
- Needle nose pliers
- Penetrating lubricant
- Appropriately sized socket wrench set for lug nuts, axle nut, brake caliper mounts, etc.
- Pry bar
- Cotter pins
- Brake cleaner
| Item Specifics | |
|---|---|
| Brand : | app-autoparts |
| Manufacturer Part Number : | APP179946S01 |
| Interchange Part Number : | 66-5295 |
| OE/OEM Part Number : | 665295 |
| Manufacturer Warranty : | 1 Year |
| California Prop 65 Warning : | Yes |
| Fitment Type : | Direct Replacement |
| Compatible Makes : | Toyota |
| Model : | 2006-2012 RAV4 |
| Engine : | L4 2.4L, L4 2.5L |
| Location : | Front Left(Front Driver Side) |
| Compressed Length : | 25.375" |
| Input Shaft Spline Count : | 24 |
| Output Shaft Spline Count : | 26 |
| Note : | Not for FWD (Front Wheel Drive) |
| Note-2 : | 2006-2007 RAV4 fit 4WD or AWD |
| Note-3 : | 2008-2012 Toyota RAV4 fit 4WD (Four Wheel Drive) |

1.We accept multiple payment methods.
2.Please do not use the PayPal note field to indicate us to ship to other address. The note there will NOT be read. If you want to change the shipping address, please contact us by eBay messages.
3.(if you want cancel orders or change address pls contact us within 6 hours after payment,or we are not responsible for shipping a replacement.)
4.Payment must be received within 10 days as auction ended or order might be delayed.1.We only accept PayPal.
2.Please do not use the PayPal note field to indicate us to ship to other address. The note there will NOT be read. If you want to change the shipping address, please contact us by eBay messages.
3.(if you want cancel orders or change address pls contact us within 6 hours after payment,or we are not responsible for shipping a replacement.)
4.Payment must be received within 10 days as auction ended or order might be delayed.
 1. Orders processed within 24 hours of payment verification.
2. We only ship to confirmed PAYPAL addresses. Your PAYPAL address must match your Shipping address.
3. The images shown are not the actual item and are for your reference only.
4. If you have not received your shipment within 15 days from payment , please contact us. We will track the shipment and get back to you as soon as possible with a reply. Our goal is customer satisfaction!
 1. You have 30 days to contact us and 10 days to return it from the date it was received. If this item is in your possession more than 7 days, it is considered used and we will not issue you a refund or replacement. There are NO EXCEPTIONS!
2. All returned items must be in the original packaging and you must provide us with the shipping tracking number, specific reason for the return, and item custom lable.
3. We will refund your full winning bid amount, upon receipt of the item in its original condition and packaging with all components and accessories included, AFTER both Buyer and Seller cancel the transaction from eBay. OR, you may choose to have a replacement.
4. Return shipping is to be paid by the Buyer.
 We maintain high standards of excellence (five stars review)and strive for 100% customer satisfaction! FEEDBACK IS VERY IMPORTANT TO US. We request that you contact us immediately BEFORE you give us neutral or negative feedback, so that we can satisfactorily address your concerns.
Front Driver for Toyota RAV4 2006 2007 2008-2012 L4 2.4L 2.5L CV Axle Assembly
How to Change a CV Axle
Part1 Removing the Vehicle’s Axle Nut
1.Remove the vehicle’s hubcap. Before so much as jacking up the vehicle, you need to remove the axle nut. Start by removing the hubcap for the respective wheel of the CV axle to be replaced. For vehicles with rims, you may simply have a cap at the center of the wheel rather than a hubcap.
2.Remove the cotter pin from the axle nut. If your vehicle has a cotter pin securing the axle nut, you will need to remove it. The pin will resemble a bobby pin with the ends folded back to hold it in place.
3.Remove the axle nut. Once the cotter pin is out, you can remove the axle nut. The nut will take significant torque to remove, which is why it is much safer to remove the nut before jacking up the vehicle.
Part2 Removing the Wheel and Brake Assembly
1.Jack up the appropriate side of the car. Next, you will need to remove the wheel, which requires lifting the vehicle. Consult your vehicle’s owner’s manual for the correct spot to jack up your car, and ensure that you pick a spot on the frame and not the much more fragile body.
2.Place the vehicle on jack stands. Once you have the vehicle lifted enough to place your jack stand, ease it back down onto the stand, which is more stable than the jack alone.
3.Remove the wheel. The lug nuts securing the wheel will already be exposed from when you removed the hubcap. Remove the lug nuts and the wheel the same way you would if you were changing a tire.
4.Remove the brake caliper. Once the wheel is off, the brake caliper and brake rotor will be clearly visible. The caliper housing is the larger piece attached to the outside of the rotor.
5.Unbolt the outer tie rod from the steering knuckle. The outer tie rod is literally a rod bolted to the steering knuckle, which is just behind the rotor. This piece will likely be bolted with another 17mm bolt.
6.Unbolt the hub from the strut tower. Two more 17mm bolts will connect the wheel hub to the strut tower. Once you remove these bolts, the hub should only be connected by the axle through the center hole, and you should easily be able to remove it.
Part3 Removing and Replacing the CV Axle
1.Pry the CV joint. Follow the axle back, and you will see the actual joint where it slides into the transmission. You can use a small pry bar or sturdy flathead screwdriver to pry the axle from the joint.
2.Insert the new CV axle into the transmission housing. Just as you removed the old CV axle, insert the new one into the same spot in the transmission housing. The peg will slide all the way in until the axle is flush against the housing.
3.Reinsert the axle through the hub assembly. The new axle will have to be reinserted into the center of the hub assembly at the same spot where you removed the old axle.
4.Refasten the assemblies in the order you removed them. Starting with the hub assembly to the strut tower, refasten all of the bolts you removed. Reconnect the outer tie rod to the steering knuckle next, and then reattach the caliper.
5.Reattach the wheel. By this time, you can put the wheel back on the vehicle (again, the same as you would when changing a tire).
6.Tighten the axle nut. Finally, you can retighten the axle nut once the vehicle is back on the ground. Make sure that you still have the parking brake engaged while tightening.
Things You’ll Need
1.We accept multiple payment methods.
2.Please do not use the PayPal note field to indicate us to ship to other address. The note there will NOT be read. If you want to change the shipping address, please contact us by eBay messages.
3.(if you want cancel orders or change address pls contact us within 6 hours after payment,or we are not responsible for shipping a replacement.)
4.Payment must be received within 10 days as auction ended or order might be delayed.1.We only accept PayPal.
2.Please do not use the PayPal note field to indicate us to ship to other address. The note there will NOT be read. If you want to change the shipping address, please contact us by eBay messages. 3.(if you want cancel orders or change address pls contact us within 6 hours after payment,or we are not responsible for shipping a replacement.) 4.Payment must be received within 10 days as auction ended or order might be delayed.1.We only accept PayPal. 2.Please do not use the PayPal note field to indicate us to ship to other address. The note there will NOT be read. If you want to change the shipping address, please contact us by eBay messages. 3.(if you want cancel orders or change address pls contact us within 6 hours after payment,or we are not responsible for shipping a replacement.) 4.Payment must be received within 10 days as auction ended or order might be delayed.1.We only accept PayPal. 2.Please do not use the PayPal note field to indicate us to ship to other address. The note there will NOT be read. If you want to change the shipping address, please contact us by eBay messages.
3.(if you want cancel orders or change address pls contact us within 6 hours after payment,or we are not responsible for shipping a replacement.)
4.Payment must be received within 10 days as auction ended or order might be delayed.
2. All returned items must be in the original packaging and you must provide us with the shipping tracking number, specific reason for the return, and item custom lable. 3. We will refund your full winning bid amount, upon receipt of the item in its original condition and packaging with all components and accessories included, AFTER both Buyer and Seller cancel the transaction from eBay. OR, you may choose to have a replacement.
Copyright of app_autoparts. All rights reserved. |
Shop Category Hot Item
Picture
New List Item
Help & Info Payment Policy Shipping Policy Return Policy FAQ About Us |
||||||||||||||||||||||||||||||||||||||||||||||||||||||||||||||||||||||||||||||||||||||


- Brand: app-autoparts
- Manufacturer Part Number: APP179946S01
- Interchange Part Number: 66-5295
- OE/OEM Part Number: 665295
- Manufacturer Warranty: 1 Year
- Fitment Type: Direct Replacement
- Compatible Makes: Toyota
- Model: 2006-2012 RAV4
- Engine: L4 2.4L, L4 2.5L
- Location: Front Left(Front Driver Side)
- Compressed Length: 25.375"
- Input Shaft Spline Count: 24
- Output Shaft Spline Count: 26
- Note: Not for FWD (Front Wheel Drive)
- Note-2: 2006-2007 RAV4 fit 4WD or AWD
- Note-3: 2008-2012 Toyota RAV4 fit 4WD (Four Wheel Drive)
- UPC: Does not apply
Processing Time
- We process and ship orders Monday through Friday, excluding holidays.
- Most orders are processed within 1–3 business days, depending on product availability.
- Processing time does not include delivery time, which varies based on your location and the product’s shipping origin.
Shipping Coverage
We currently ship to addresses within the United States only.
Products may ship from:
- Our U.S. warehouses, or
- Our international fulfillment centers (including Korea, Japan, China, Australia, Mexico, Canada, the United Kingdom, and the EU).
Each product page clearly displays the “Ships From” location before checkout.
Shipping Methods & Estimated Delivery
| Shipping Method | Estimated Delivery | Cost |
|---|---|---|
| Free Shipping (US) | 5–10 business days | Free, available on eligible items |
| Standard Shipping (US to US by Item) | 5–10 business days | $6.50 for the first item, $3.00 each additional |
| Standard Shipping (From US Warehouse by Weight) | 3–7 business days | Starts at $6.50, increasing by $2 for every additional 4 oz (0.25 lb) up to 1 lb, then by $4 for each additional pound beyond 1 lb. |
| Extended Delivery (Ships from Overseas Warehouse) | 10–15 business days | $14.50 for the first item, $4.00 each additional |
Shipping costs vary by product weight, quantity and origin. Exact rates and delivery estimates are displayed on each product page and confirmed during checkout.
Free Shipping
We offer free standard shipping on select products or during promotional periods. Availability of free shipping will be displayed on the product page and at checkout.
Carriers
We primarily use USPS and UPS for U.S. deliveries. Items shipped from international warehouses may be handled by partner carriers depending on the country of origin.
Import Duties & Taxes
All import duties and taxes for goods imported into the United States are included in the product price. There are no hidden fees or additional charges at checkout.
Tracking & Notifications
Every order is fully trackable. You will receive a tracking number via email once your order ships. If your order ships in multiple packages, each package will have its own tracking number. If you don’t receive a shipping confirmation immediately, your order is still being processed and will arrive within the estimated timeframe shown at checkout.
You can track your shipment anytime using the Track Your Order page on our website.
Order Changes & Cancellations
If you need to modify or cancel an order, please contact our customer support team as soon as possible. Orders can only be canceled before they ship. Once shipped, cancellations are not possible, but you may request a return after the item is delivered.
Contact: support@ibspot.com
Item Not Received
If your tracking number shows “Delivered” but you haven’t received your package:
- Check with your local USPS or UPS office.
- Confirm that the shipping address provided was correct.
- If the issue remains unresolved, contact support@ibspot.com for assistance.
Damaged or Lost Parcels
If your package arrives damaged or fails to arrive, please contact us immediately. For deliveries to P.O. boxes, ibspot is not responsible for damage caused by weather, temperature, or theft.
Customer Support
For any questions about shipping, tracking, or delivery, our customer support team is here to help.
Email: support@ibspot.com
We’re always happy to help.
Please read our policy carefully before making a purchase.
We aim to ensure every customer has a smooth and transparent experience with ibspot.com.
Order Cancellation Policy
Customers may request to cancel an order before it has been shipped.
Once the package has been shipped, cancellations are no longer possible; however, you may still request a return after receiving your order.
How to Request a Cancellation
You can contact us through:
-
Email: support@ibspot.com
-
Contact Form: Submit a request through our Contact Us page
Please submit your cancellation request as soon as possible after placing the order to allow us to process it before shipment.
Return Policy
We accept returns for most items within 30 days of delivery for a full refund.
To be eligible for a return:
-
The item must be unused, in the same condition as received, and in its original packaging.
-
A tracking number must be provided to confirm the return shipment.
Non-Returnable Items
Certain products cannot be returned, including:
-
Perishable goods (for example, food, flowers, newspapers, magazines)
-
Intimate or sanitary goods
-
Hazardous materials or flammable liquids/gases
-
Gift cards
-
Downloadable software
-
Some health and personal care items
Partial Refunds (If Applicable)
Partial refunds may be granted in specific situations, such as:
-
Books with obvious signs of use
-
Opened CDs, DVDs, software, or vinyl records
-
Items not in their original condition, damaged, or missing parts not due to our error
-
Items returned more than 30 days after delivery
How to Return an Item
To initiate a return, please contact us at support@ibspot.com with your order number and details about the product you wish to return.
Our team will provide you with return instructions and a prepaid return label.
Shipping Cost for Returns
Please contact us before returning any item.
We will provide a free return shipping label.
If a return is sent back without prior contact or without our provided label, we cannot be held responsible for return shipping costs.
For items valued over $75, we recommend using a trackable shipping service or purchasing shipping insurance.
We cannot guarantee that we will receive your returned item if shipped independently.
Refund Processing
Once your return is received and inspected:
-
In-store returns are refunded to the original form of payment or issued as a gift card.
-
Mail-in returns using our prepaid label are refunded to the original payment method within 3–5 business days after we receive your return.
Please allow:
-
5–7 business days for the return to reach our Returns Center.
-
An additional 3–10 business days for your bank to post the refund to your account.
Damages, Issues & Claims
Please inspect your order immediately upon receipt.
If you receive a defective, damaged, or incorrect item, contact us right away at support@ibspot.com.
We’ll evaluate the issue promptly and make it right.
Product Claims
Before purchasing, please review product details carefully.
If there is a problem with your order upon arrival, visit our Support Center or contact us directly to arrange return shipping or replacement.
Exchanges
We do not process direct exchanges.
The fastest way to get what you need is to return the original item and place a new order once your return is accepted.
Return Address
IBSPOT Return Center
15 Sawmill Ln
Dover Plains, NY 12522
United States
Customer Support
Our support team is available 24/7 to assist with cancellations, returns, or general inquiries.
Email: support@ibspot.com
Contact Form: Contact Us page
Oops!
Sorry, it looks like some products are not available in selected quantity.